Using v0 to speedrun UI development

How I used v0
I recently had the chance to play around with v0, and let me tell you, this tool is a game-changer for building UIs. I was working on the Public Goods Club token bound account web application and needed to switch up some parts of the UI. That’s when I decided to give v0 a shot.
v0 enabled me to generate react components styled with tailwindcss and shadcn/ui using simple prompts. At the time I was inspired by tokenbound’s wallet page and v0’s prompting interface allowed image input in addition to text. This was perfect to generate a refined UI that could be inspired by an existing site.

I headed over to v0 and gave it a screenshot of the tokenbound page with a simple prompt: “A token bound account viewer page”. And boom! v0 started generating an almost exactly similar UI as the reference image.

The basic layout with the Next.js and Tailwindcss code was ready to be plugged into my codebase. I fed chatGPT the code generated by v0 and asked it to integrate it into my existing code and had a new version of the Public Goods Club token bound account wallet page. Here’s the end result:

Getting started with v0
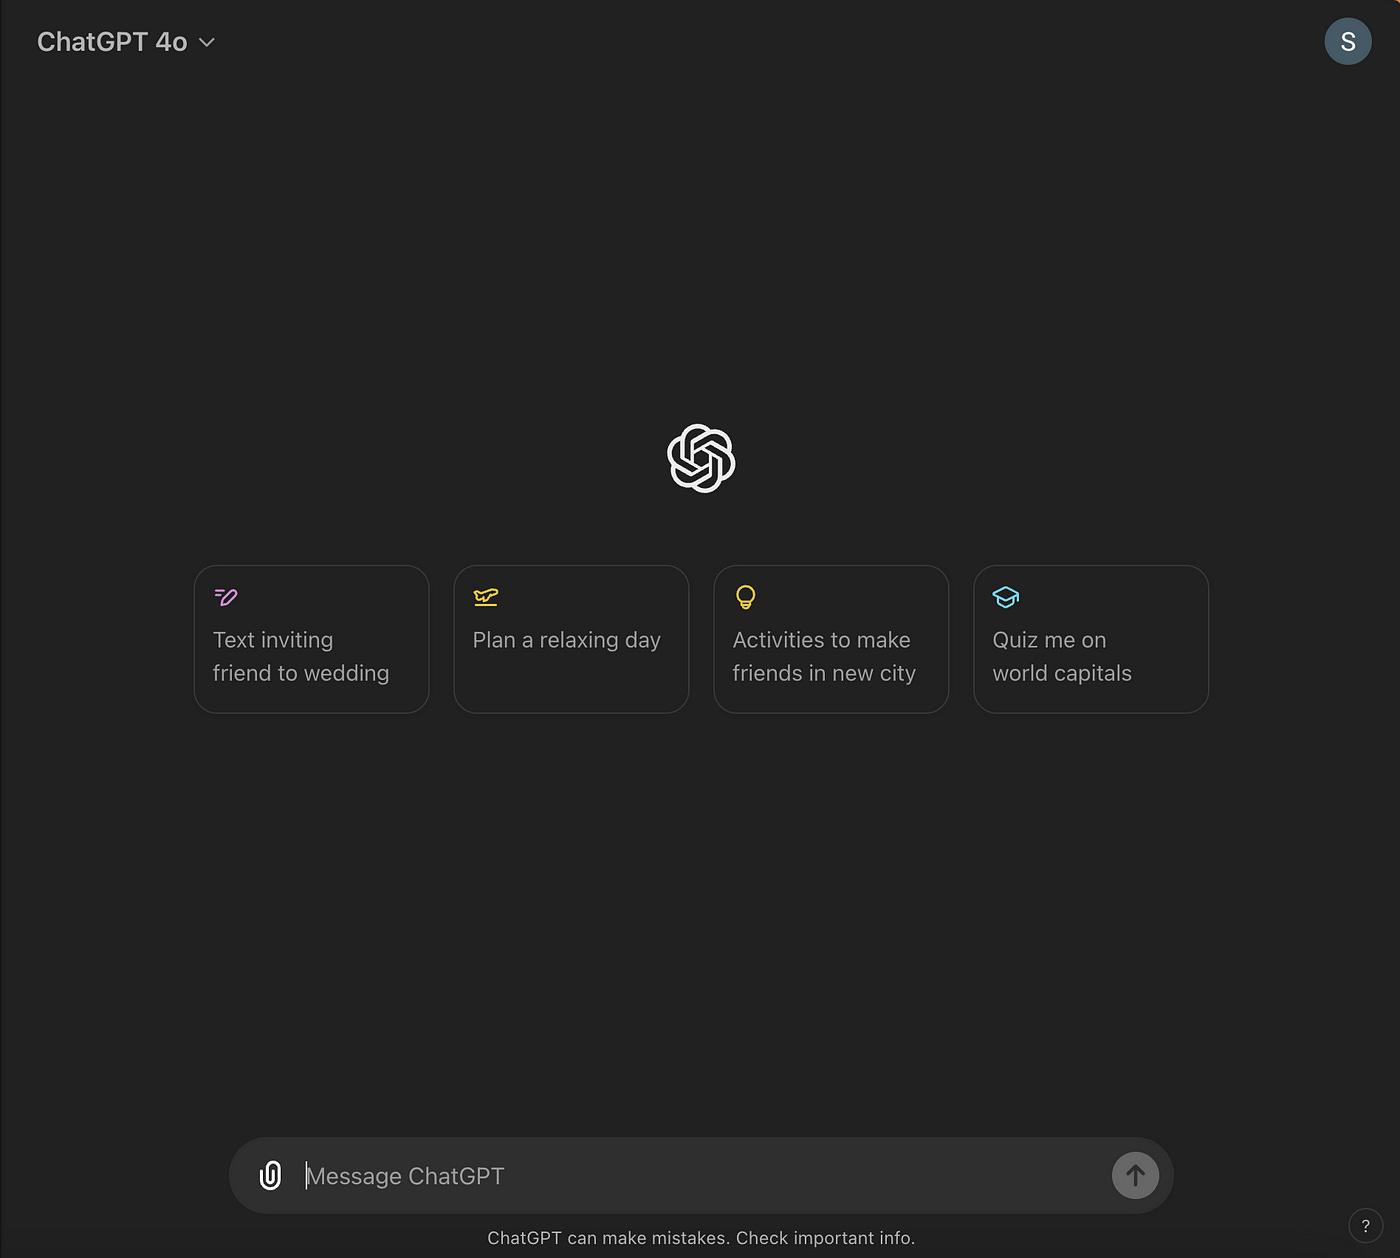
Let’s generate a chat interface similar to that of ChatGPT’s using v0’s generative UI capabilities and integrate it with a new Next.js app.
Armed with a screenshot and some expectations, let’s ask v0 to generate the ChatGPT chat interface. The intial generation yields 3 variations:

The above UI is almost what we want but not exactly. Below is the series of prompts used to get a UI that closely resembles chat GPT’s chat interface:
v0: Build the chat gpt chat interface as described in the attached image.
v1: reduce the size of the cards and the logo; resposition them to the middle of the screen
v2: reduce the width of the cards, change the font color in the cards to a lighter color to increase readability.
v3: Increase the width of the cards just a little bit
v4: increase the width of the cards more, remove the white border on the cards, and increase the space between each card
Here is the refined version that we are going to integrate into our next app:

Check out the v0 project here
To get started integrating v0, we need to have a next application ready. I am using next v14 with tyepscript, tailwindcss and eslint. To get started, let’s spin up a next app:
npx create-next-app@latest --typescript --tailwind --eslint
Once the next app is up and running, run the snippet below to get your project initialized for use with v0:
npx v0@latest init
This should install the dependencies required for v0, which include @radix-ui/react-icons, clsx and lucide-react. These dependencies are in fact similar to the ones required by shadcn/ui, which is what v0 uses under the hood along with tailwindcss in its generated code.
Next up, copy the cli command that v0 provides and run it in the app.

npx v0 add [id]this is going to prompt us to name the generated component:

Let’s see how our newly generated component looks. Remove the boilerplate code from app/page.tsx and replace with the following to only display the v0 component.
import { ChatInterface } from "@/components/chat-interface";
import Image from "next/image";

export default function Home() {
  return (
    <div>
      <ChatInterface />
    </div>
  );
}
Let’s now run our app:
npm run devThe UI on localhost looks like its missing some colors generated from v0:

Let’s head over to v0 to copy the tailwind.config.js, layout.jsx and globals.css files to replace the content in our existing files. The copied code is in js and jsx so we might need to update it to use typescript (see repo).
Here is how the component looks with the updated code:

Check out the repository for this guide here
v0 makes the UI design and development experience a breeze and if you’re a developer using Next.js looking to streamline your workflow, I highly recommend giving v0 a try.
Subscribe to thescoho's Substack
Subscribe for free to receive new posts and support my work.